搜索到
14
篇与
ubuntu
的结果
-
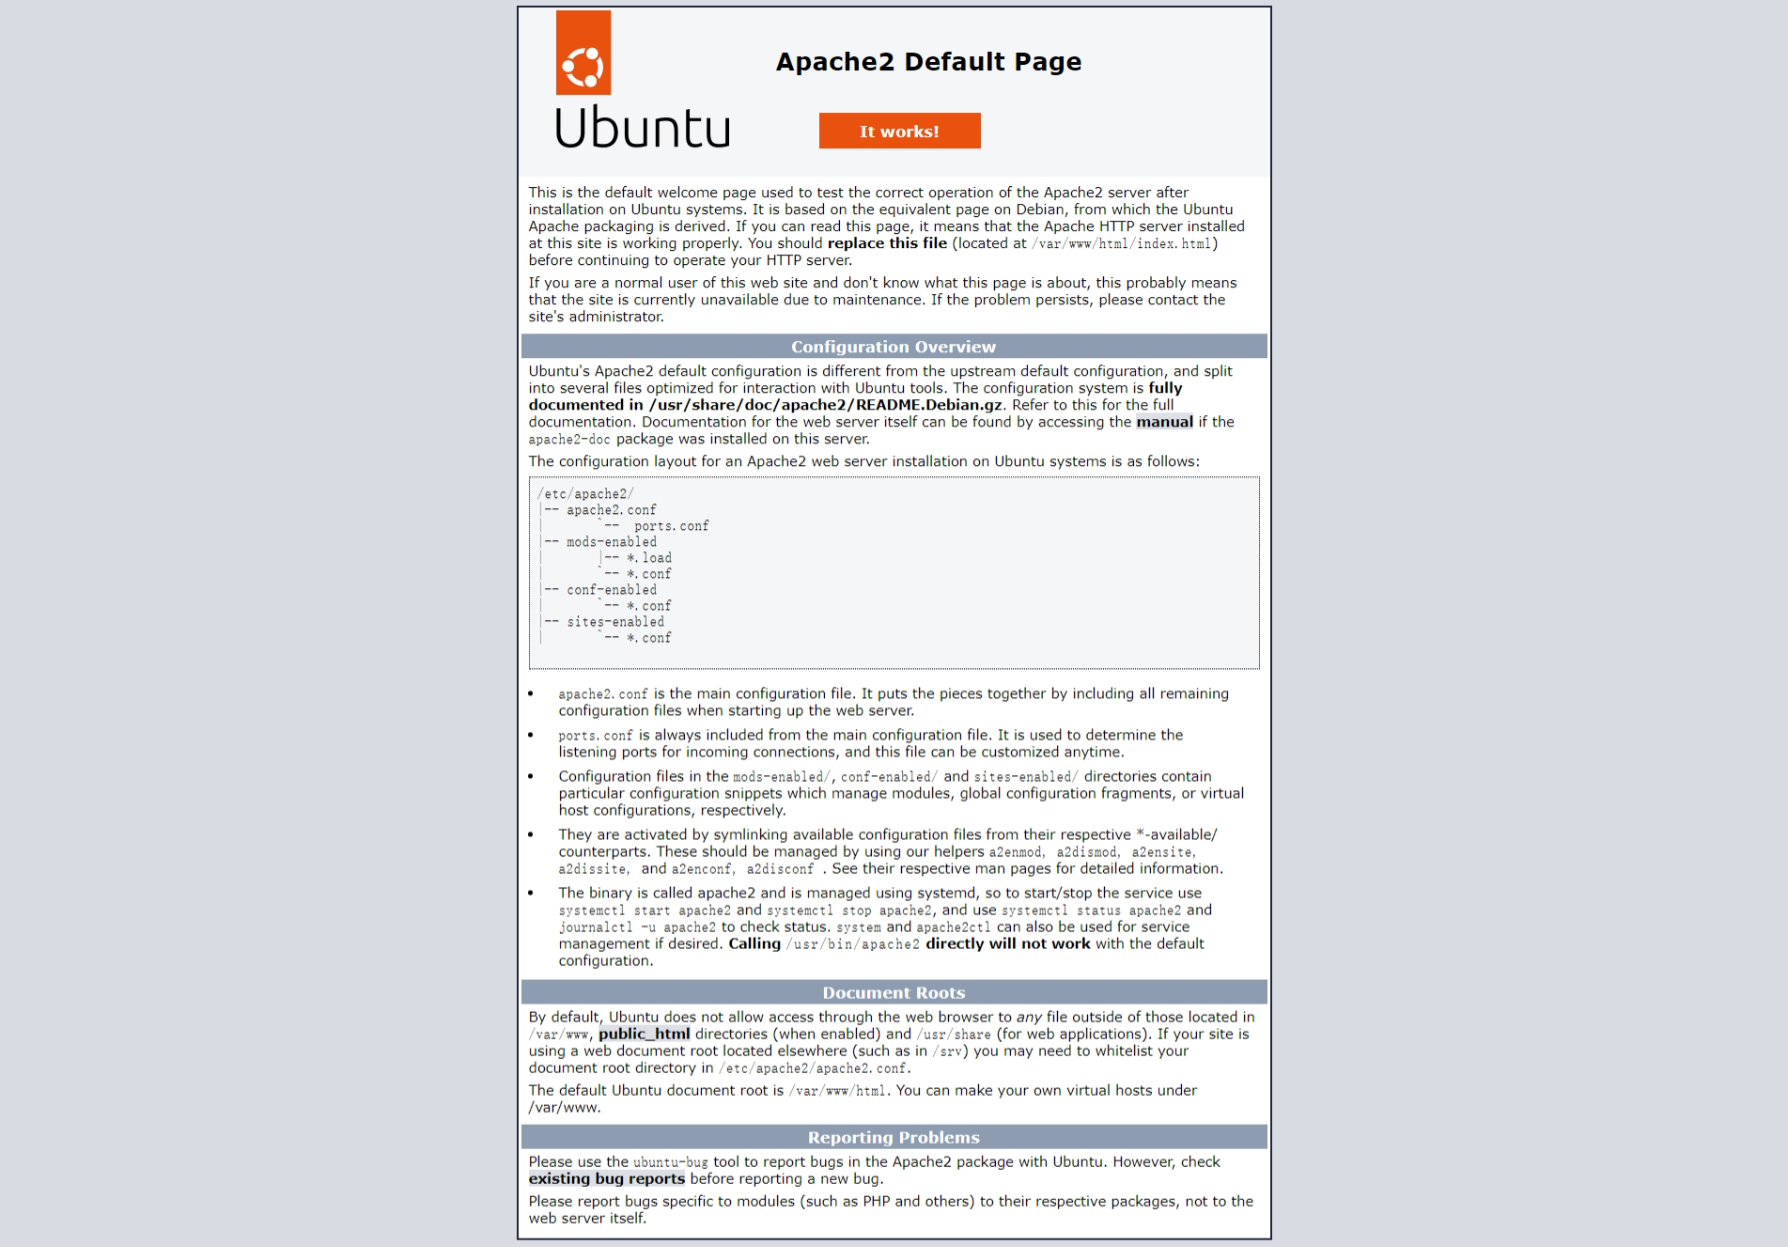
 ubuntu中80端口被apache2服务占用导致nginx无法启动 一次运维中,卸载了原先的nginx服务,改用docker运行宝塔面板,在宝塔中安装nginx,并使用host网络。但是卸载宿主机中的nginx服务后,启动宝塔容器却发现nginx无法启动。使用netstat|grep 80或者lsof -i:80命令都无法查询到占用80端口的服务。后发现直接访问宿主机ip地址可以打开一个网页,如上图。但是找不到该占用的程序。最终只能通过whereis apache2找到所有apache2目录然后sudo rm -rf /xx/xx/apache2删除相关的所有目录。重启系统后,docker版宝塔正常运行nginx
 -
 Ubuntu下Windows文件名乱码 {alert type="info"}把一些 Windows 上创建的文件发送到 Ubuntu 后,这些文件(文件夹、压缩包等)的文件名会乱码原因为 windows 下的文件名以 GBK 编码,而 Ubuntu 下的文件名为 utf-8 编码。{/alert}convmvconvmv 就是更改文件名编码方式的一个工具。比如如果未安装该命令,则先安装sudo apt-get install convmvsudo convmv -f gbk -t utf-8 -r --notest /home就是将 /home 目录下原来文件名是 gbk 编码方式的全部改为 utf-8 格式的。-f gbk #原来的编码方式 -t utf-8 #要转变成的编码方式 -r #递归处理目录下所有文件 --notest #非测试,立即执行iconviconv 是更改文件编码方式的一个工具:sudo iconv -f gbk -t utf-8 -o outfile sourcefile-f gbk #原来的编码方式 -t utf-8 #要转变成的编码方式 -o outfile #输出文件名 sourcefile #源文件名
 -
 ubuntu软件卸载重装方法 1.卸载软件和配置文件sudo apt-get --purge remove nginx删除 nginx,配置文件 –purge2.移除全部不使用的软件包sudo apt-get autoremove 3.列出nginx相关的软件dpkg --get-selections|grep nginx执行结果:zhangsan@xx-ubuntu:~$ dpkg --get-selections|grep nginx nginx install nginx-common install nginx-core install 4.删除nginx相关的软件sudo apt-get --purge remove nginx sudo apt-get --purge remove nginx-common sudo apt-get --purge remove nginx-core这样就可以完全卸载掉nginx包括配置文件5.查看nginx正在运行的进程,如果有就杀掉ps -ef |grep nginxzhangsan@xx-ubuntu:~$ ps -ef |grep nginx root 7875 2317 0 15:02 ? 00:00:00 nginx: master process /usr/sbin/nginx www-data 7876 7875 0 15:02 ? 00:00:00 nginx: worker process www-data 7877 7875 0 15:02 ? 00:00:00 nginx: worker process www-data 7878 7875 0 15:02 ? 00:00:00 nginx: worker process www-data 7879 7875 0 15:02 ? 00:00:00 nginx: worker process stephen 8321 3510 0 15:20 pts/0 00:00:00 grep --color=auto nginx6.kill nginx进程sudo kill -9 7875 7876 7877 7879 7.全局查找与nginx相关的文件sudo find / -name nginx* 8.依依删除4列出的所有文件sudo rm -rf file 9.再次重装sudo apt-get update && sudo apt-get install nginx
 -
 ubuntu安装、使用docker方法 一、安装1、查看内核uname -r2、更新包sudo apt-get update3、没有docker旧版本,忽略这一步。如果有则需要卸载旧的版本,主要为了防止新旧版本冲突sudo apt-get remove docker docker-engine docker.io containerd runc4、为了防止 apt 源使用 HTTPS 以确保软件下载过程中不被篡改。我们需要添加使用 HTTPS 传输的软件包及 CA 证书sudo apt-get install apt-transport-https ca-certificates curl gnupg lsb-release5、确认下载软件包的合法性,需要添加软件源的 GPG 密钥,但因网络问题设置docker源改为国内源(阿里)curl -fsSL https://mirrors.aliyun.com/docker-ce/linux/ubuntu/gpg | sudo gpg --dearmor -o /usr/share/keyrings/docker-archive-keyring.gpg或curl -fsSL http://mirrors.aliyun.com/docker-ce/linux/ubuntu/gpg | sudo apt-key add -6、向 source.list 中添加 Docker CE 软件源sudo add-apt-repository "deb [arch=amd64] http://mirrors.aliyun.com/docker-ce/linux/ubuntu $(lsb_release -cs) stable"或使用https://mirrors.ustc.edu.cn源(失效)sudo add-apt-repository "deb [arch=armhf] https://mirrors.ustc.edu.cn/docker-ce/linux/raspbian $(lsb_release -cs) stable"7、安装sudo apt-get -y install docker.io或sudo apt-get install docker-ce docker-ce-cli containerd.io启动dockersudo systemctl start dockerdocker换源修改 /etc/docker/daemon.json (如果该文件不存在,则创建){ "registry-mirrors": [ "https://hub-mirror.c.163.com" ] }sudo systemctl daemon-reload && sudo systemctl restart docker添加用户到docker用户组
 -

您的IP:


