1.从git上下载nginx-rtmp模块
git clone https://github.com/arut/nginx-rtmp-module.git注意: 千万不要 先在windows平台下载rtmp模块文件,然后打包迁移到linux系统。否则文件编码格式将会被改变,怎么安装都不会成功。会出现错误提示:
unknown directive "rtmp"
若没有安装git和gcc编译环境
apt install -y gcc gcc-c++ autoconf wget apt -y install wget gcc-c++ ncurses ncurses-devel cmake make perl bison openssl openssl-devel gcc* libxml2 libxml2-devel curl-devel libjpeg* libpng* freetype*apt install -y git2.编译安装nginx时添加nginx-rtmp模块
从宝塔中安装nginx中安装,选择编译安装,会出现自定义模块界面,点击添加,在弹出的界面输入:
模块名称: nginx_rtmp_module
描述: nginx rtmp
参数: –add-module=/www/server/nginx-rtmp-module 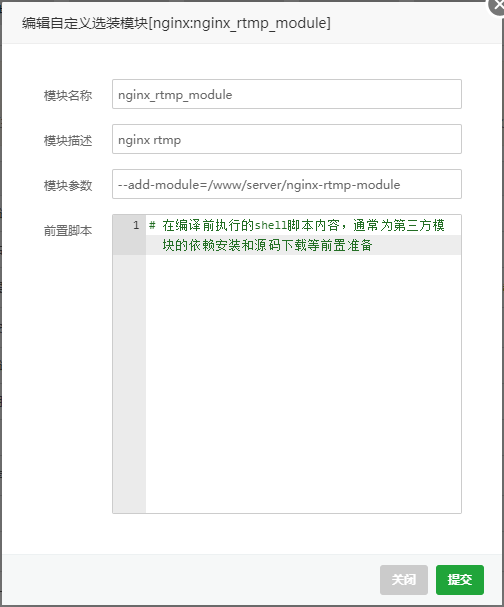
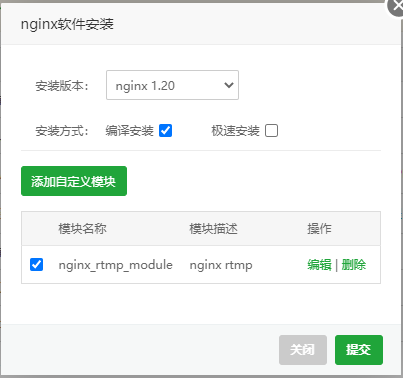
验证:看到 --add-module=/allroot/programs/nginx-rtmp-module

另一种安装方式:
修改 /www/server/panel/install/nginx.sh 安装命令,需要先用宝塔执行过编译安装命令后才会有该文件
/www/server/panel/install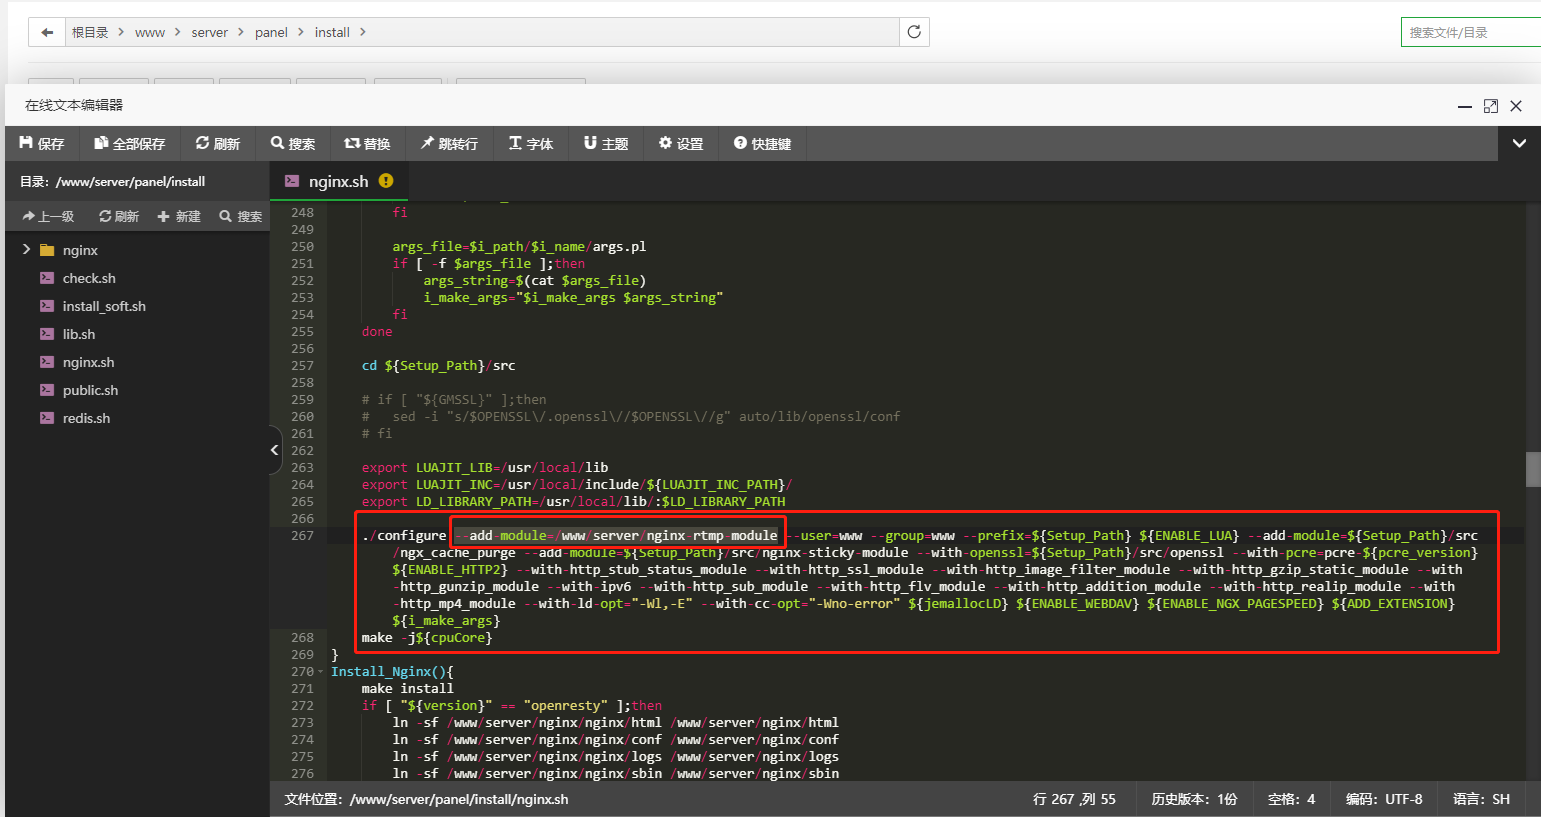
然后执行安装命令
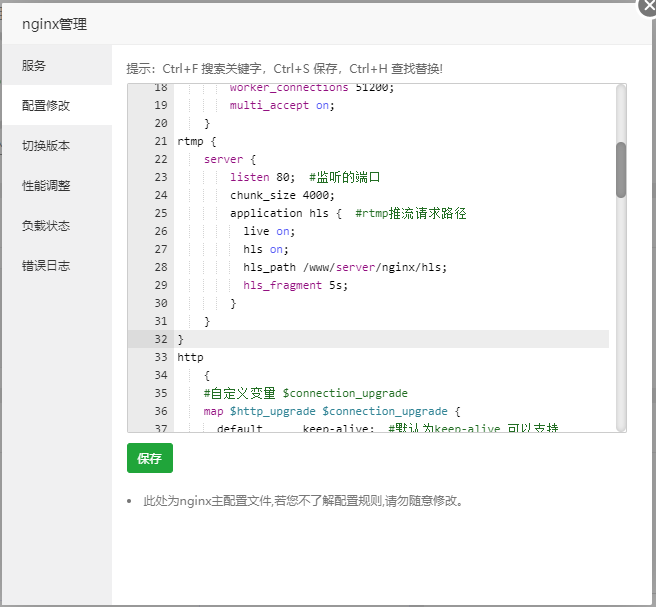
sh /www/server/panel/install/nginx.sh install 1.203.修改nginx.conf配置
rtmp_auto_push on;
rtmp {
    server {
        listen 1935;  #监听端口,记得开放
        ping 30s;
        chunk_size 4000;
        notify_method get;
        application hls {#rtmp推流请求路径
            live on;
            hls on;
            hls_path /www/server/nginx/hls; #视频流暂存地址
            hls_sync 100ms;
            hls_fragment 5s;   #切片大小,越小占用资源越高,但是延时越小,默认5s
        }
        application live {
                        live on;
        }
        # Video on demand
        #application vod {
        #    play /www/server/nginx/Videos;
        #}
        # Video on demand over HTTP
        #application vod_http {
        #    play http://localhost:8080/vod/;
        #}
    }
}
#rtmp状态
location /stat {
rtmp_stat all;
rtmp_stat_stylesheet stat.xsl;
}
location /stat.xsl {
#rtmp-module模块安装地址,这个可以通过http看到状态
root /allroot/programs/nginx-rtmp-module;
}
#http支持hls流播放
location /hls {
#Serve HLS config
types {
application/vnd.apple.mpegurl m3u8;
video/mp2t ts;
}
root /allroot/programs/live/hls; #与视频流暂存地址相同
expires -1;
add_header Cache-Control no-cache;
}
4.测hi推流
ffmpeg -re -i test.flv -vcodec copy -acodec copy -f flv rtmp://10.163.102.157:1936/hls/test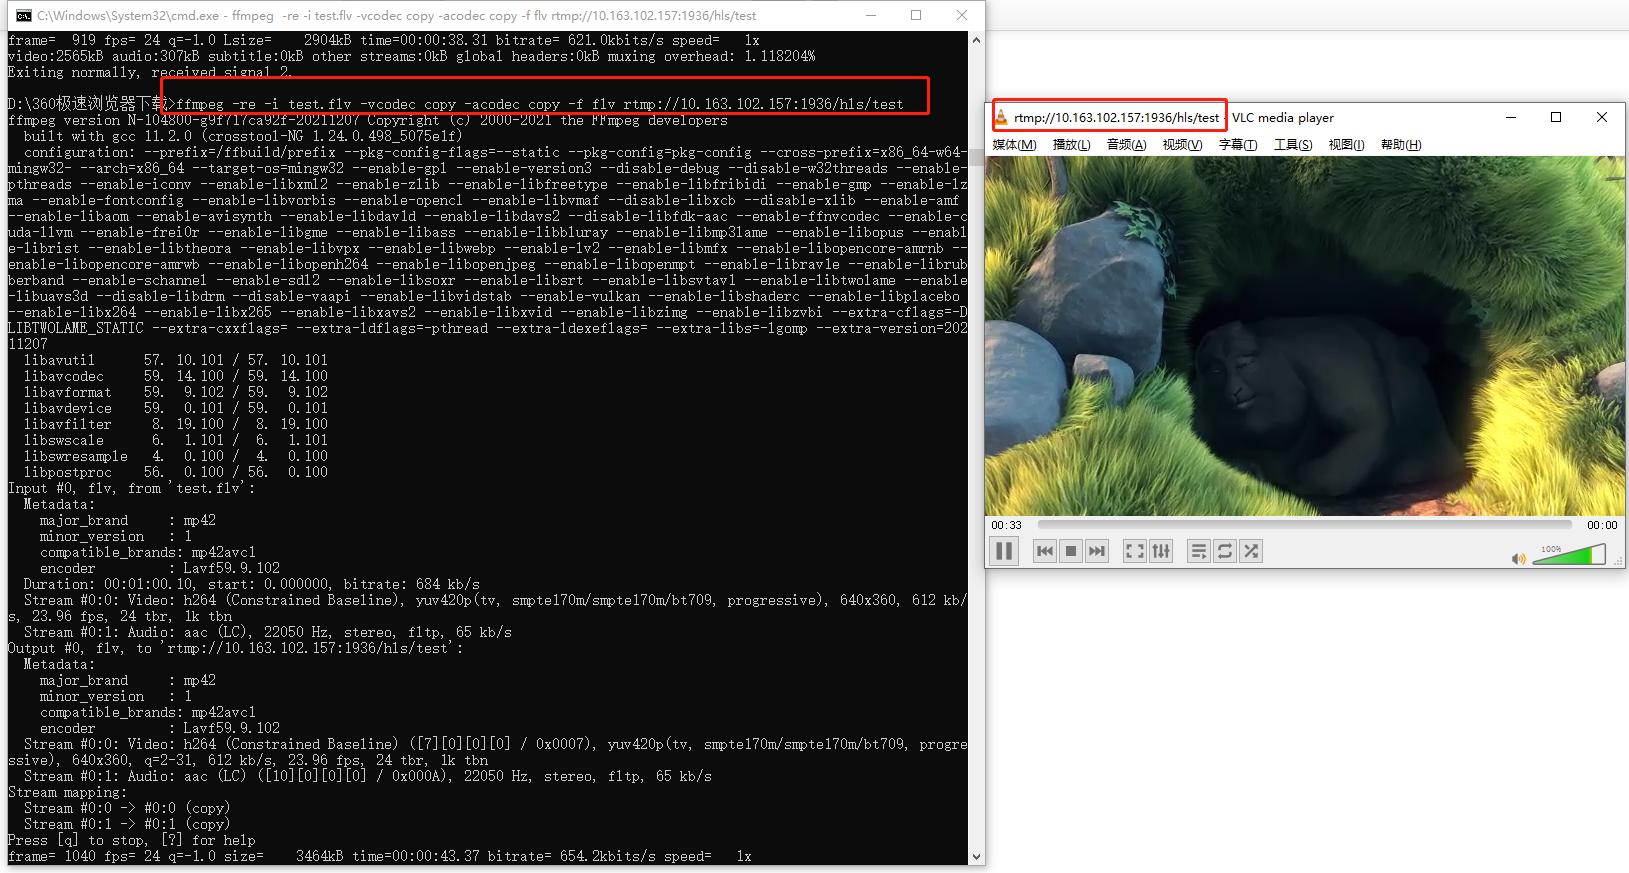
点播模型
rtmp {

    server {

        listen 1935;  #//服务端口

    chunk_size 4096;   #//数据传输块的大小

    application video {
        play /usr/local/data/video; #//视频文件存放位置,访问方式rtmp://localhost:1935/video
        }
    }
}
5.直播回放
rtmp {
    server {
        listen 1935;
        chunk_size 4096;

        application video {
            play /usr/local/data/video;
        }

        application live {

        live on;#直播模式

        hls on; #这个参数把直播服务器改造成实时回放服务器。

        wait_key on; #对视频切片进行保护,这样就不会产生马赛克了。

        hls_path /usr/local/data/hls; #切片视频文件存放位置。

        hls_fragment 10s;     #每个视频切片的时长。

        hls_playlist_length 60s;  #总共可以回看的事件,这里设置的是1分钟。

        hls_continuous on; #连续模式。

        hls_cleanup on;    #对多余的切片进行删除。

        hls_nested on;     #嵌套模式。
        }
    }



评论 (0)